Instant Classic:
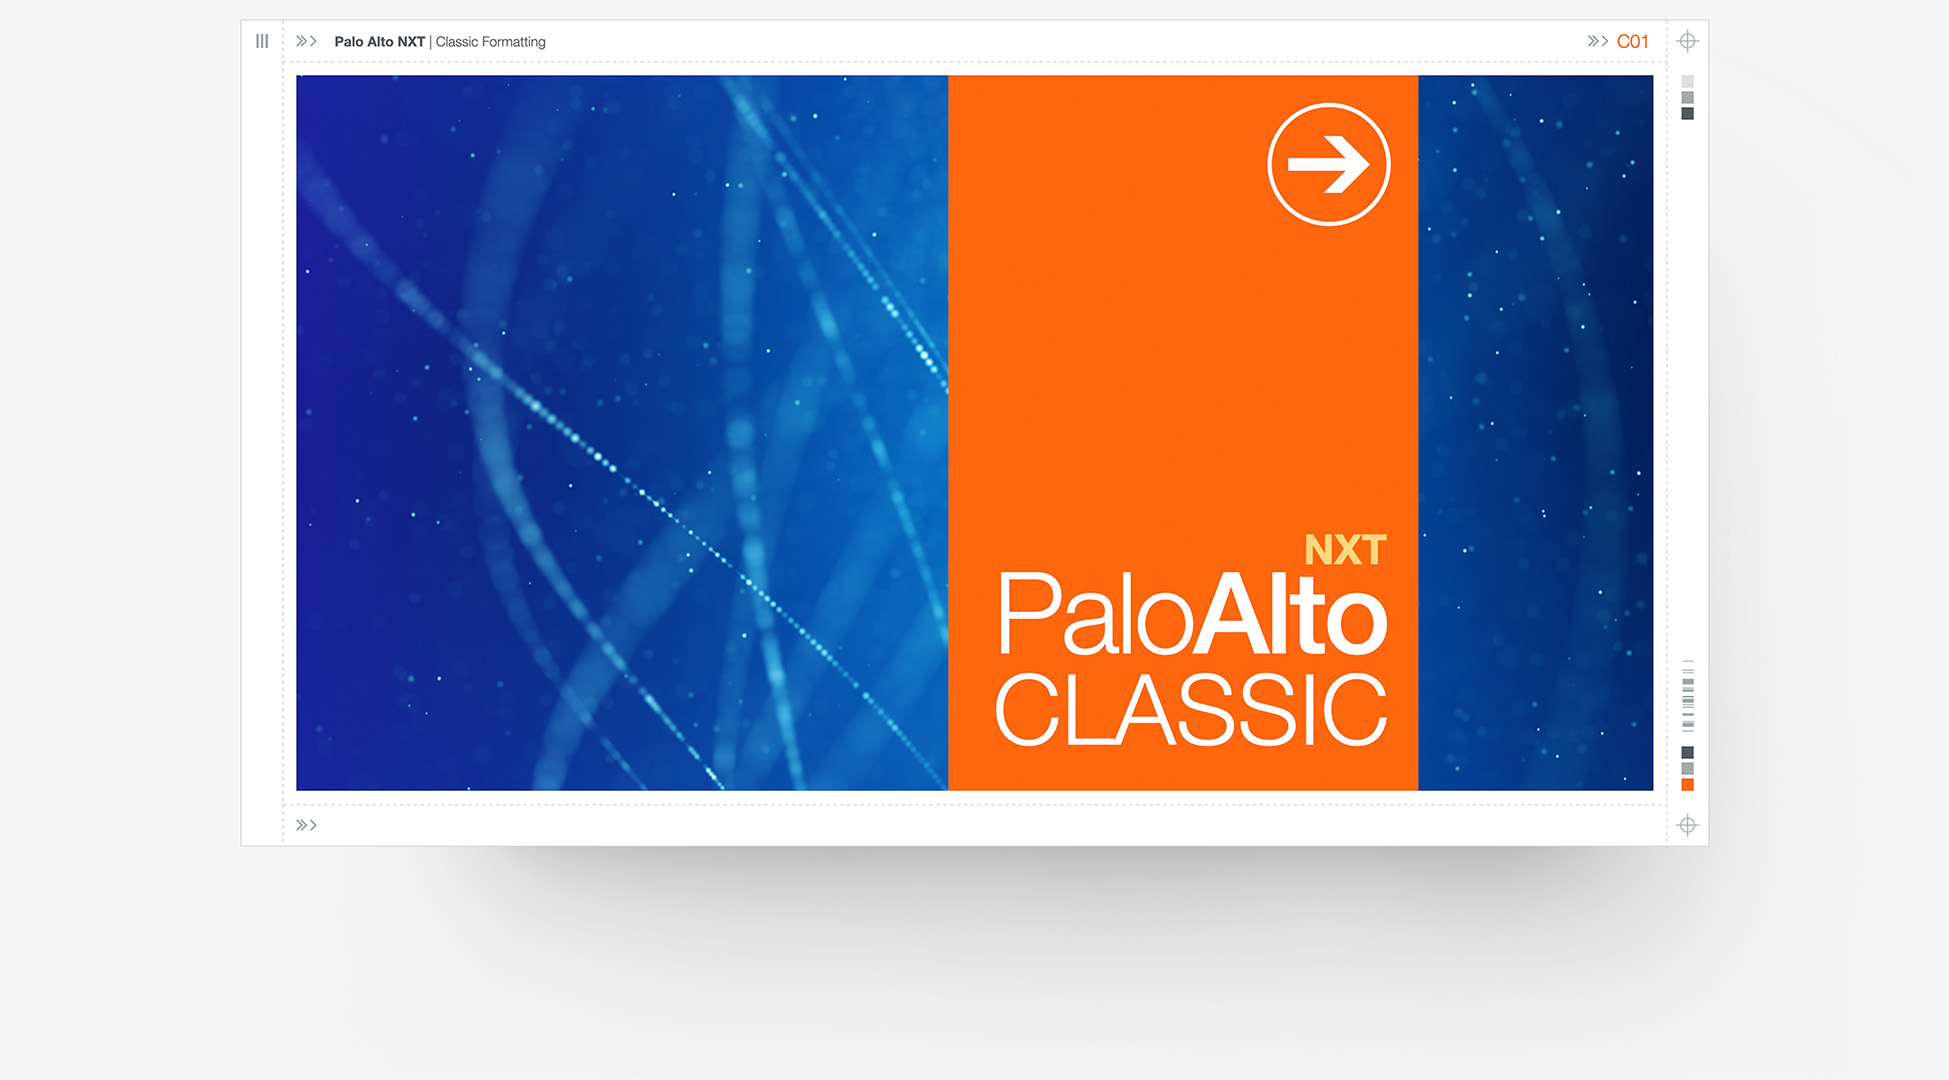
Quick Tip: Redefine a single Shape Style to transform Palo Alto NXT into Palo Alto Classic.
We've received a few questions since the release of Palo Alto NXT from authors who missed the styling details of the older Visible Framework of Palo Alto '08 - in particular the Dashed Lines that made up the framework in the classic Palo Alto architecture.
Thanks to the Shape Styles in Keynote 6/7, this is an extremely simple customization you can make in just a few short clicks. Let's take a look.
The Steps
There are only a few steps involved in transforming Palo Alto NXT to Palo Alto Classic. Start a new presentation using Palo Alto NXT, add a Blank slide, and add a Line Shape to the Stage on the Blank slide:
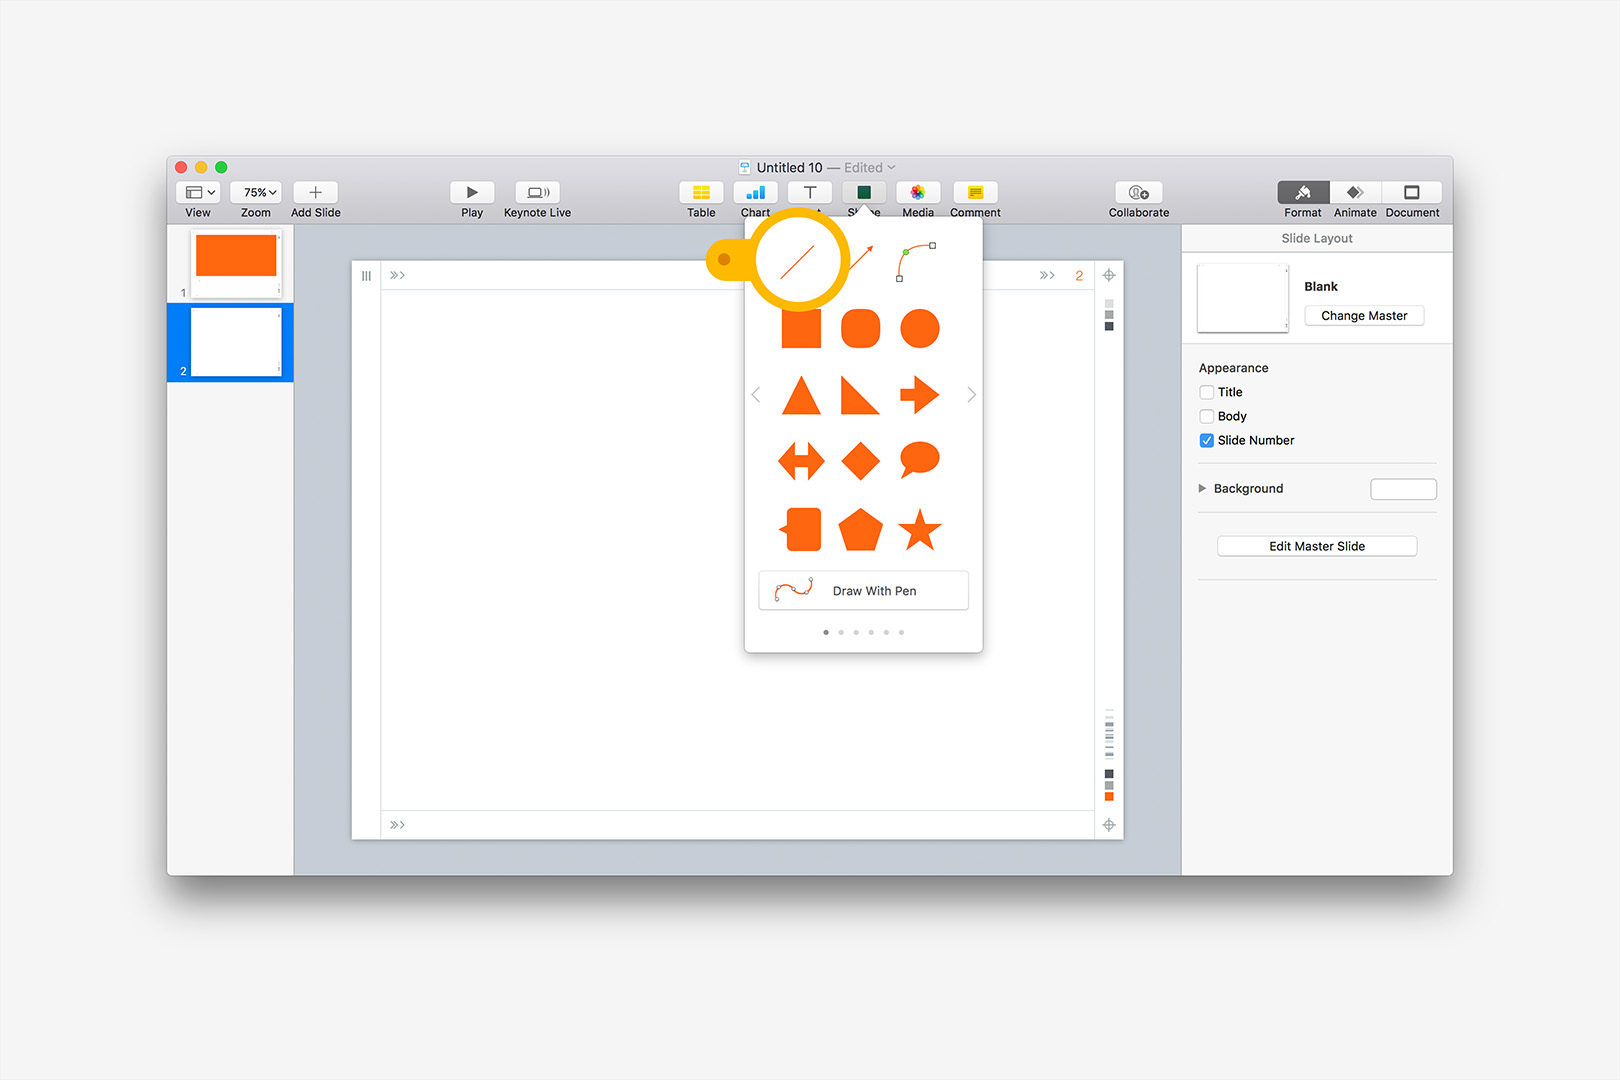
Step 1: Add a Blank slide, and add a Line Shape to the Stage.
With the Line selected, click to the 2nd panel of Line Styles (bottom) to expose the styles used in the Visible Framework - click the first style (top) to apply that style's defaults to your line - this will act as our proxy shape for the edit:
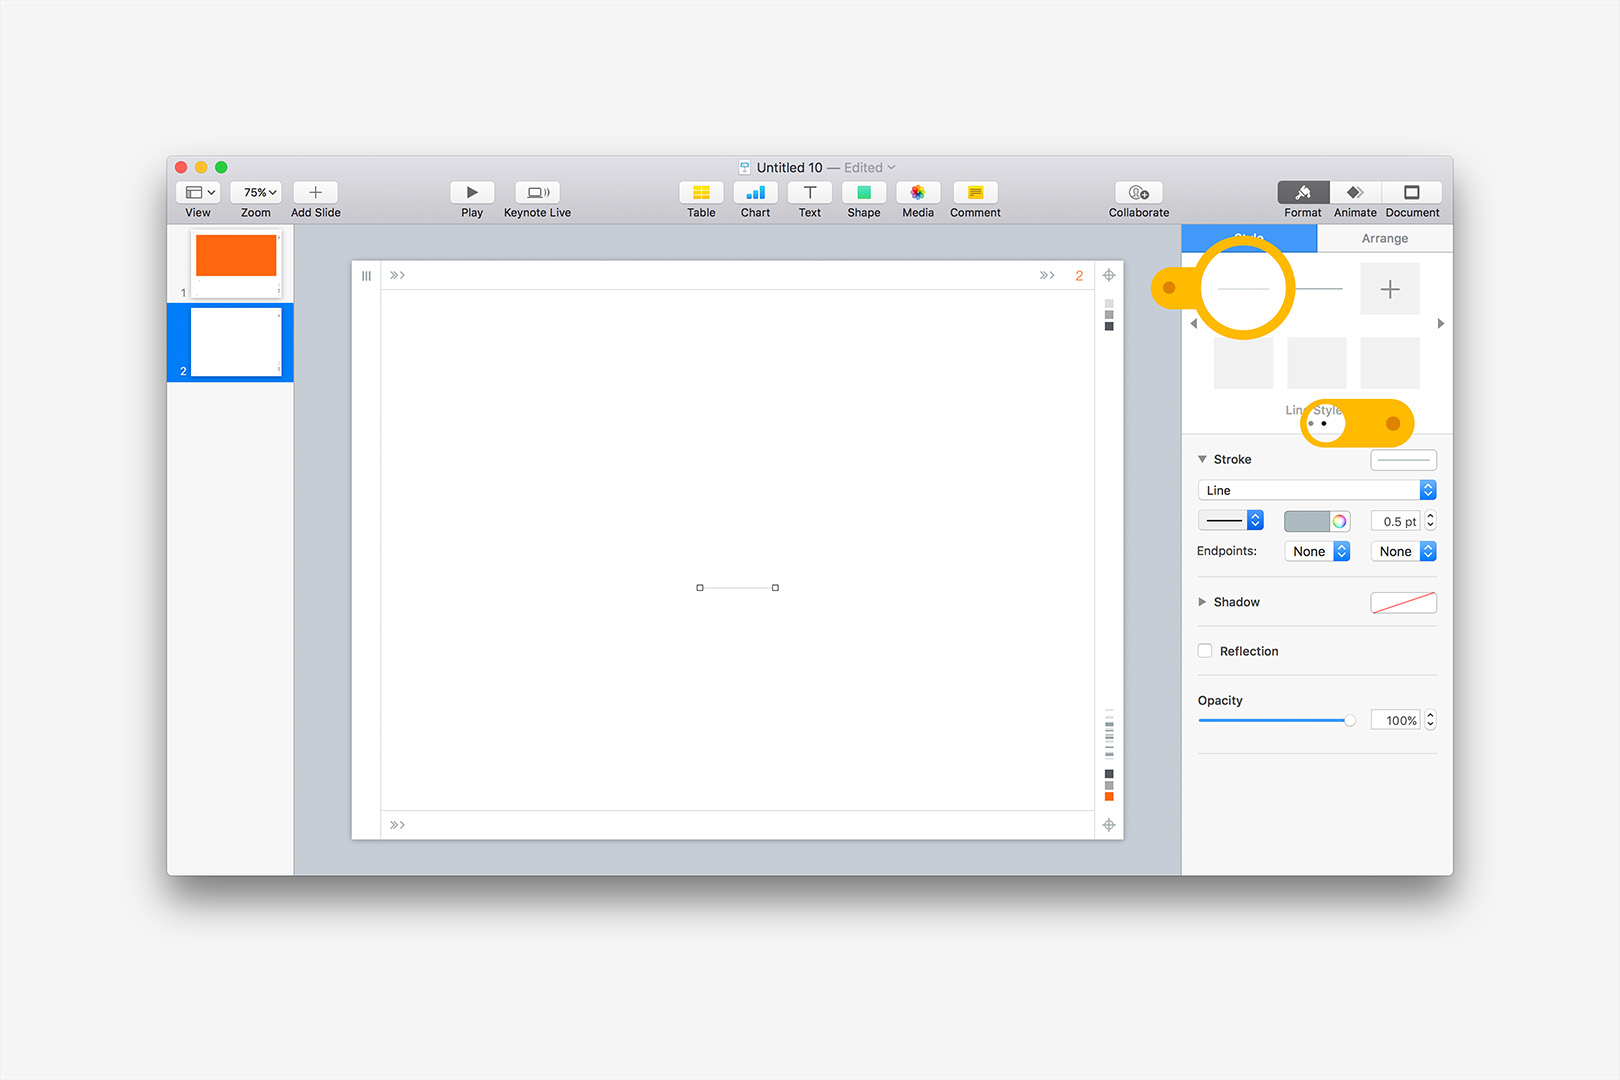
Step 2: Apply the current Framework Line Style to your line.
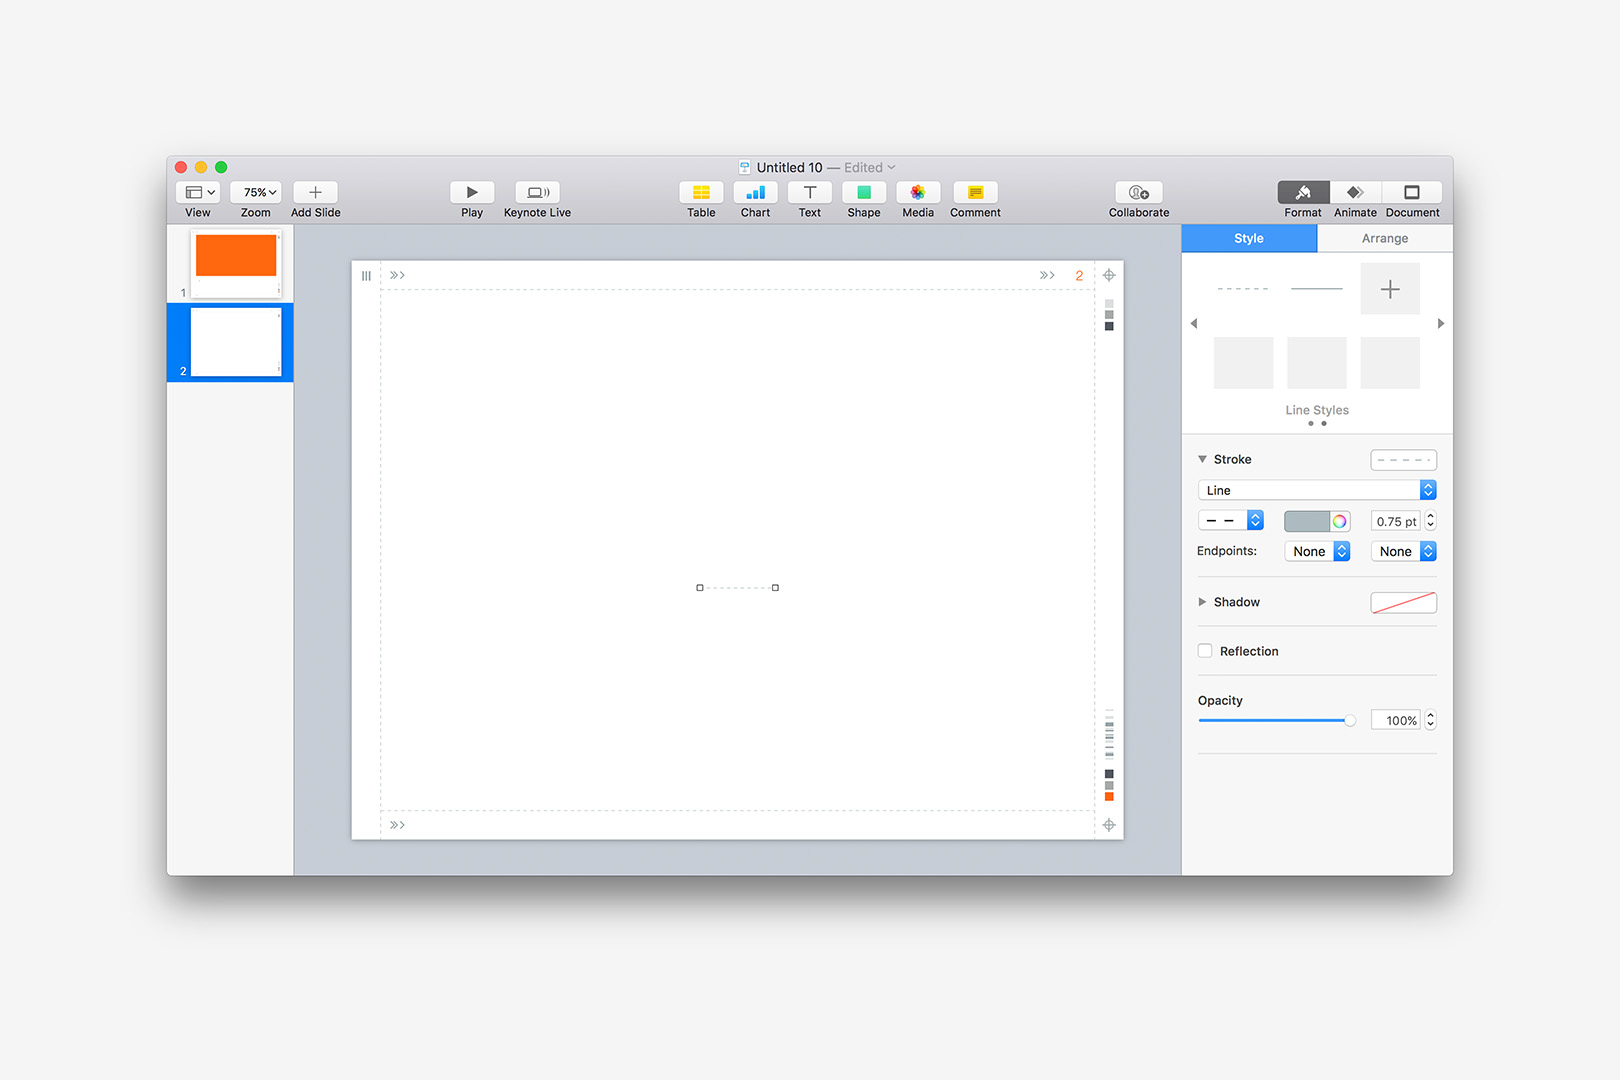
Now, we'll modify the line style and redefine it. Change the Stroke Type to the long dash (bottom), and change the Stroke Weight to .75 pt. Right-click the Shape Style we're working with (top), and select Redefine Style from Selection:
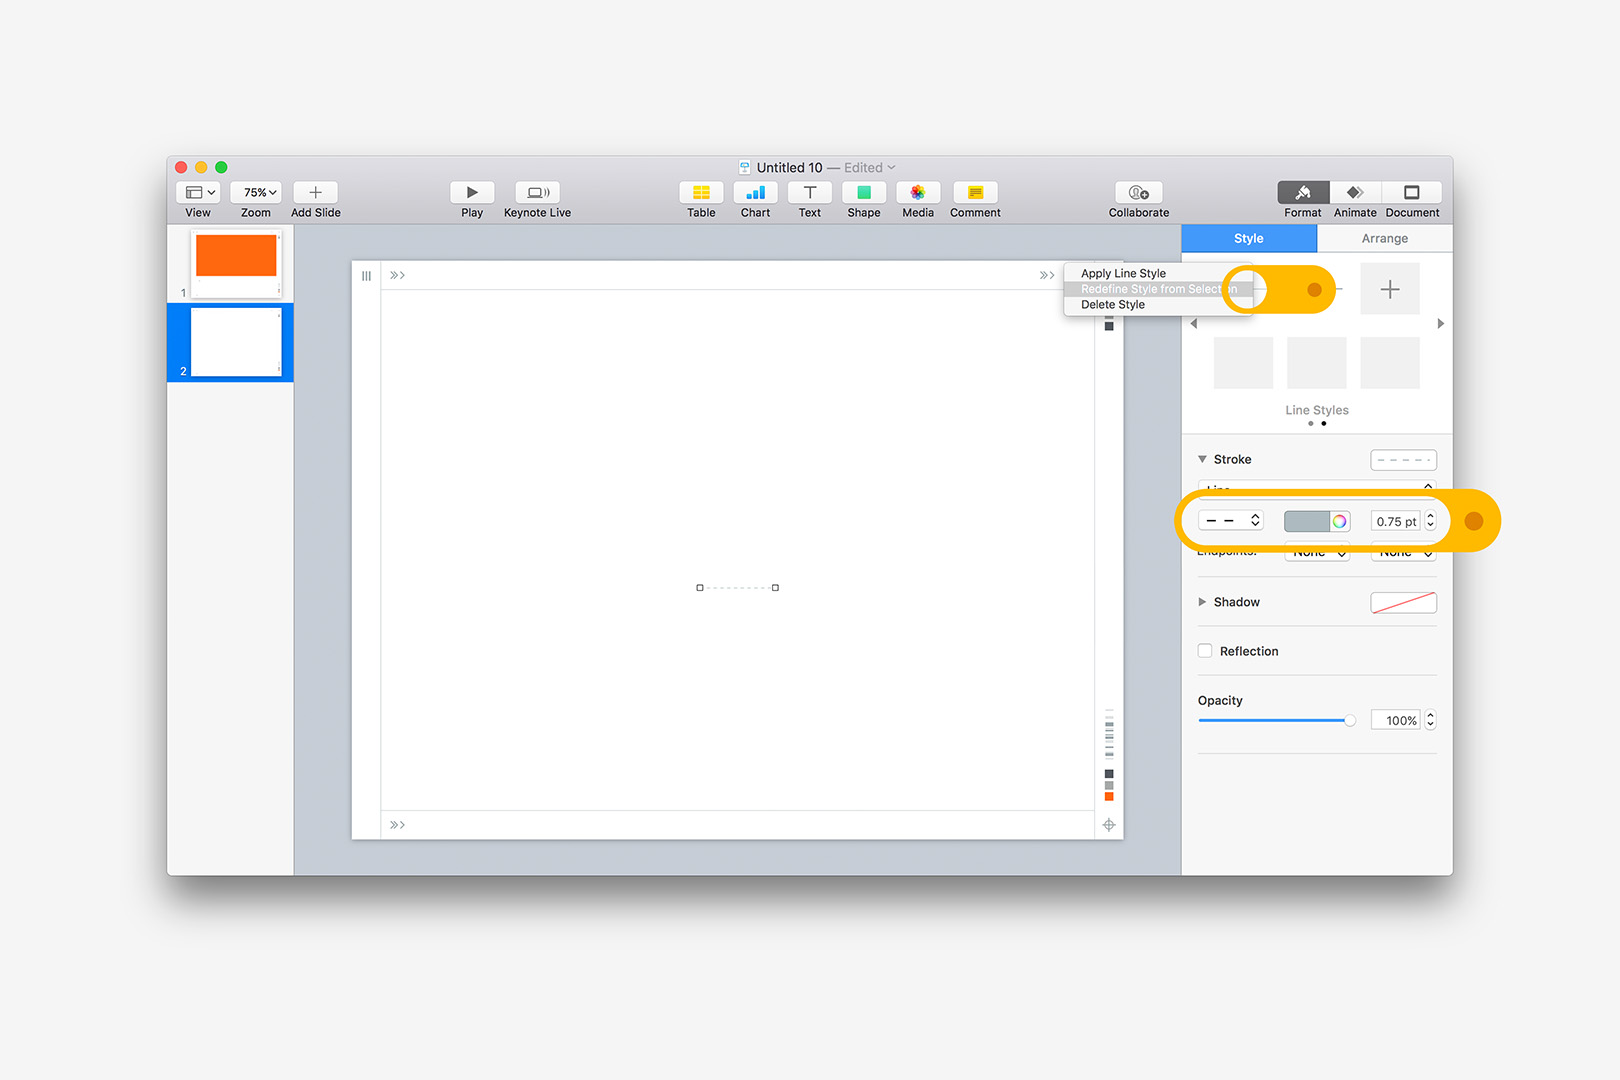
Step 3: Change the line to Dashed, and Redefine.
Keynote will verify that you want to redefine every shape in the presentation using that style - be sure Update All Objects is ticked before pressing OK:
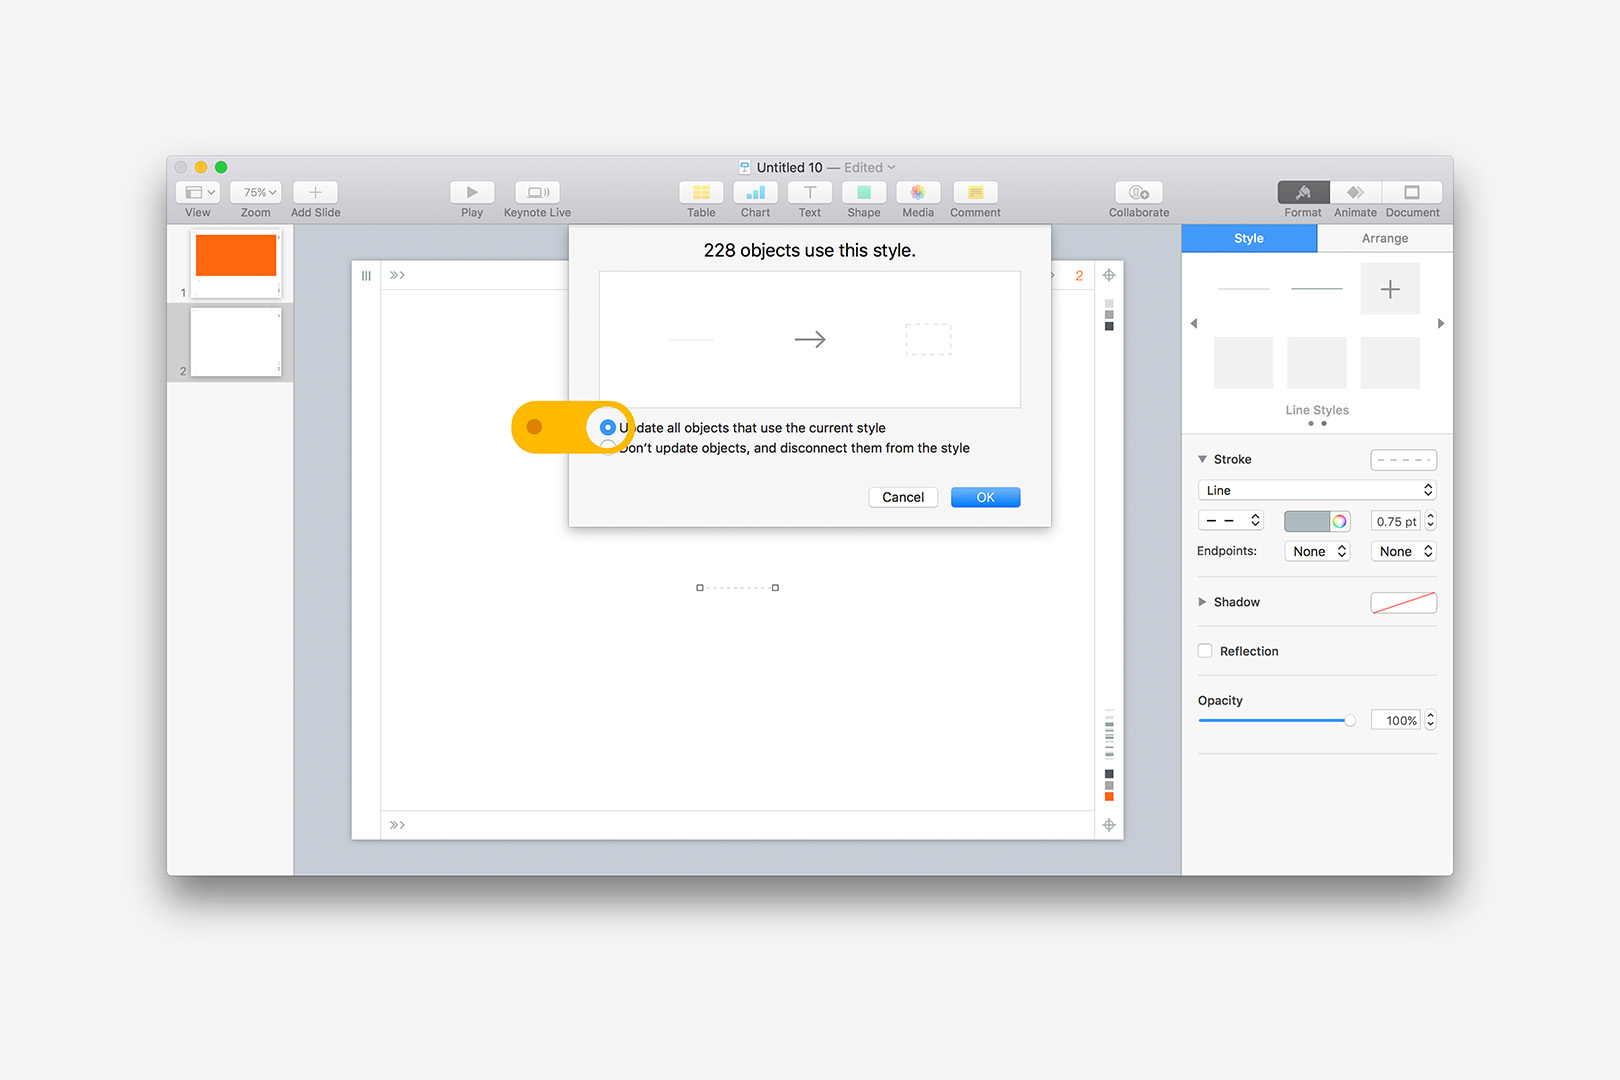
Step 4: Keynote will verify the Style is being updated - select All Objects.
And you're done! You should see the change happen instantly on any slides you've already added:
You're Done! You should see the change instantly on your slides.
And if you add a new slide, you'll see that it's made the change on all of the underlying master slides throughout the presentation as well:
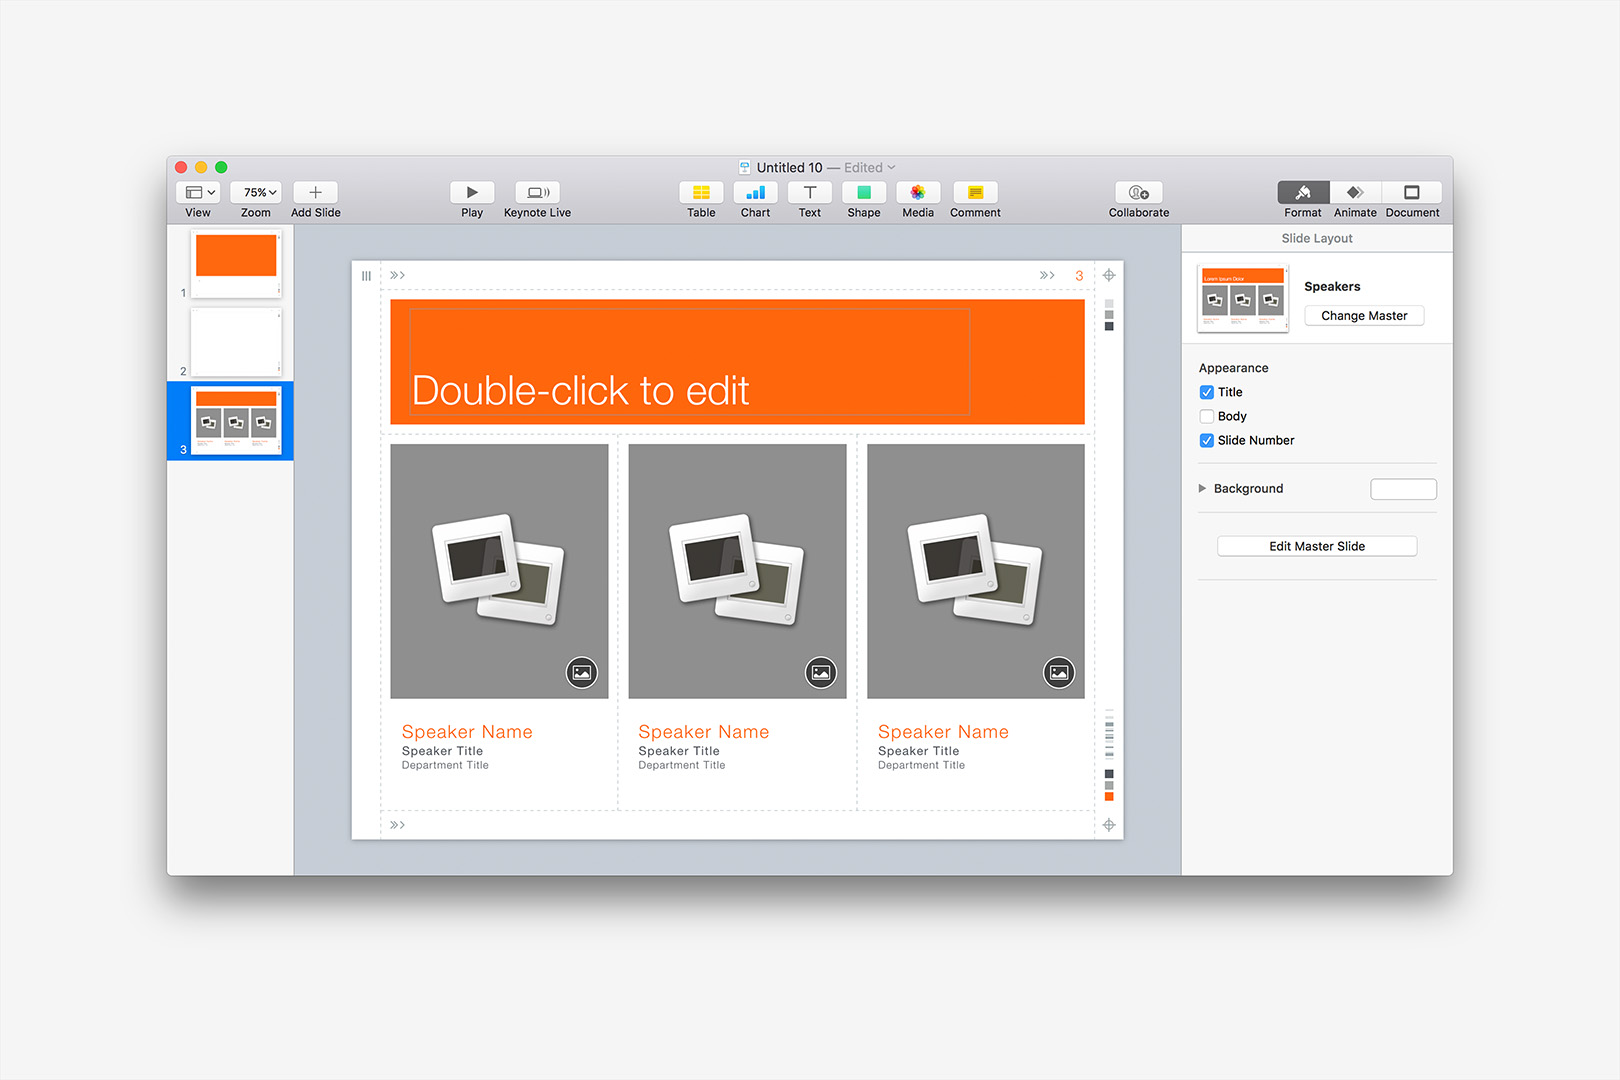
Add a new slide to verify.
That's all there is to it - it's a very limited form of the whole-theme change we outline in our NXT Re-coloring Tutorial. If you want to take it further and redefine the entire color model of the theme, that tutorial is a great place to start to get a better understanding of the bigger theme customization picture - the specific shapes to target for modification in Palo Alto NXT are noted in the Supplemental File.
You can save a custom version of Palo Alto Classic from the file you changed as desired: Remove the additional slides you added during this tutorial, so that you’re left with just a Title slide. From the File menu, select Save Theme and Add to Theme Chooser to make your new theme appear in the My Themes section of the theme chooser, ready to start your next presentation with (if you ever need to remove it, Right-click or Control-click the theme in My Themes and select Delete).